Understanding Window Sills: What They Do and Why They Matter
Window sills play a quiet but important role in your home. They support the bottom of the window, add beauty to the room, and help stop water and air from getting inside. Without them, your windows would look unfinished and less useful. Interior window sills are found on the inside part of your window. Over time, these sills can get old, cracked, or damaged. That’s when you may need to learn how to replace an interior window sill. Replacing it the right way helps protect your home and keeps things looking nice.
Signs It’s Time to Fix or Replace Your Interior Window Sill
Before starting any work, you need to know when a window sill needs replacing. Look for peeling paint, soft or cracked wood, or mold. These signs mean the window sill is not doing its job. If water leaks through, or if you see the wood rotting, it might be time for a new sill. Some people also want to replace their sills to match a new window trim or design. No matter the reason, knowing how to fix a window sill interior is helpful for any homeowner.
How to Replace an Interior Window Sill: A Clear and Simple Overview
Replacing a window sill might sound tough, but it can be simple with the right steps. First, take out the old sill, then measure the space, cut new wood, and finally install and paint it. Whether you’re updating the room or fixing damage, this project is doable for most people with basic tools. Always take your time and follow each step. If you’re unsure, it’s okay to call professionals like DnG General Services. We help make the process easy and clean.
Tools and Materials Needed Before You Begin the Job
You don’t need a lot of fancy tools to replace an interior window sill. Here’s what you should gather:
- Measuring tape
- Pry bar
- Hammer
- Utility knife
- Saw (hand saw or power saw)
- Wood glue or construction adhesive
- Wood filler
- Nails or screws
- Caulk and caulking gun
- Sandpaper
- Paint and brushes
Make sure to pick quality wood for the new sill. This will make it last longer. Many people choose wood like pine, poplar, or oak for an indoor window sill. Hardwoods last longer but can be harder to cut. Choose what fits your needs.
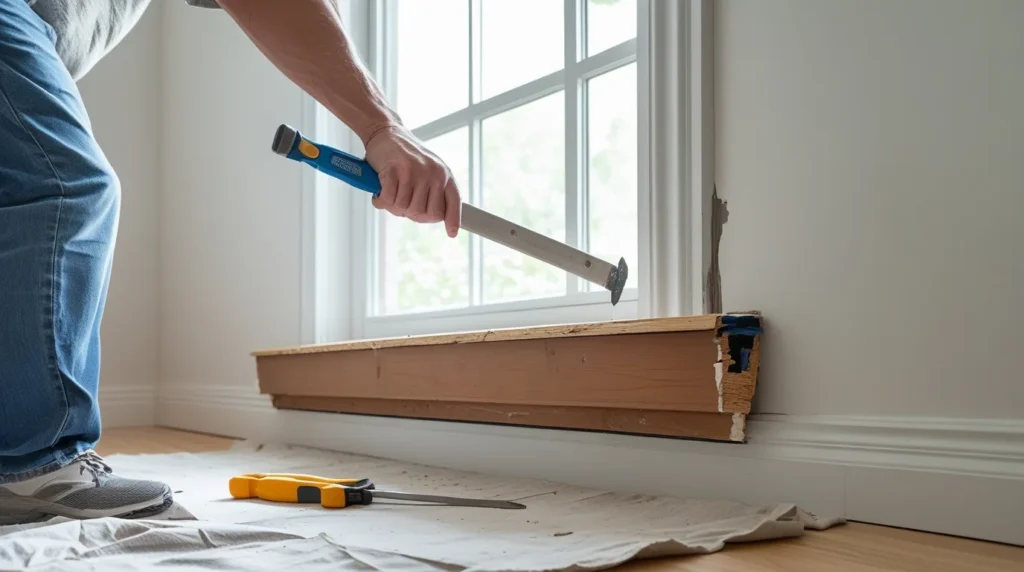
Removing the Old Window Sill: A Step-by-Step Breakdown
To begin, use your utility knife to cut any paint or caulk around the sill. This helps avoid damage to the wall. Then, gently use a pry bar to lift the old sill away. Tap it softly with a hammer if needed. Be patient so you don’t break the wall or window trim. Once the sill is loose, remove any nails or glue. Clean up the area. This step is very important because a smooth space will help the new sill fit better. Always wear safety gloves and glasses to stay safe. Double-check for hidden nails.
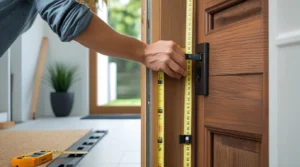
Measuring and Cutting Your New Interior Window Sill
Start by measuring the opening where the old sill was. Be sure to measure the length, width, and depth. Then mark these numbers on your new piece of wood. Add a little extra on each side if you want the sill to hang over the edge slightly. Use a saw to cut the wood to size. Double-check your cuts before moving on. Smooth the edges with sandpaper. If done carefully, your new sill will slide in easily and look just right. Good measuring is key to success here. Mistakes at this stage can cost you time.
Installing Window Sills Like a Pro: A Beginner-Friendly Guide
Now it’s time to place the new sill. Slide it into the opening and make sure it fits snugly. If it does, remove it and apply glue along the bottom. Then put the sill back in and press down. Use a few nails or screws to hold it in place while it dries. Fill in any gaps with wood filler or caulk. Let everything dry fully. Installing window sill parts correctly will make your window look neat and well-built. After drying, you can move on to painting or staining. Check for stability before finishing.
How to Add a Window Sill If There Wasn’t One Before
Some older homes or modern designs don’t have a visible interior window sill. If you want to add one, the steps are similar. Start by measuring the window bottom. Cut your wood to size and make sure it matches the room’s style. Then, attach it with glue and screws. Add trim pieces underneath for extra style. This job can really change the way a room looks. If you want help with adding window sills, DnG General Services is happy to guide you or take care of it for you. Custom sills add unique charm.
Finishing Touches: Sanding, Painting, and Making It Last
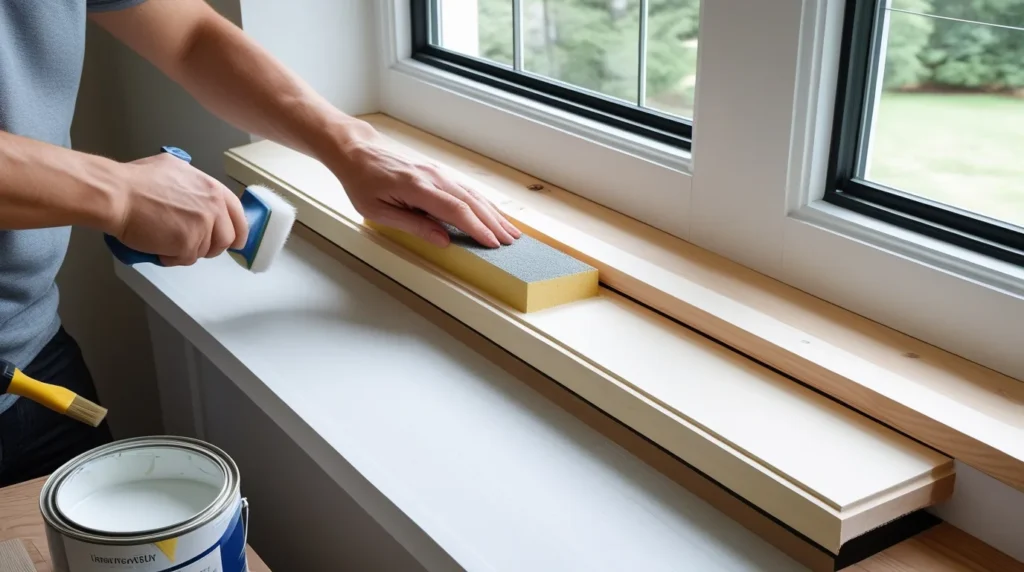
Once your sill is in place, sand it down to remove any rough spots. Choose a paint or stain that fits your home. Some people use waterproof paint to protect the wood better. Apply one or two coats and let it dry fully. Make sure you cover all the edges. Caulk around the sill to seal out air and water. These final steps will make your new window sill last longer and look better. A well-finished sill is smooth to touch and brightens up your window space. Don’t forget to clean up tools afterward.
Common Mistakes to Avoid When Installing Window Sills
Even simple jobs can go wrong without care. Don’t rush your cuts or forget to measure twice. If the sill is too short or too long, it won’t fit well. Be careful with glue—too much can make a mess, and too little won’t hold. Never skip the sanding step, or the paint won’t look smooth. Also, don’t forget to caulk; it helps seal the sill and keeps water out. If you feel unsure at any point, calling experts can save time and stress. Plan ahead, take your time, and double-check each step.
Trusted Window Sill Replacement in Aurora, CO – DnG General Services
Whether you’re replacing a damaged sill or just updating your interior, it’s important to do the job right. At DnG General Services, we bring years of hands-on experience in home improvement. Our team helps homeowners across Aurora, CO, with clean and careful sill replacements. From knowing how to install interior window sill pieces to matching your home’s style, we do it all with care. Trust us to bring quality, safety, and a great finish to every project. We take pride in doing the job right the first time.
If you’re ready to upgrade your home, don’t wait. Call DnG General Services today and schedule your window sill replacement or repair. We’re here to help!